
How to Winterize a Motorcycle for Storage: Step-by-Step
A step-by-step motorcycle winter storage guide: fuel and stabilizer, oil, battery, tires, exhaust sealing, cover and location, plus a spring-ready checklist.
 Save
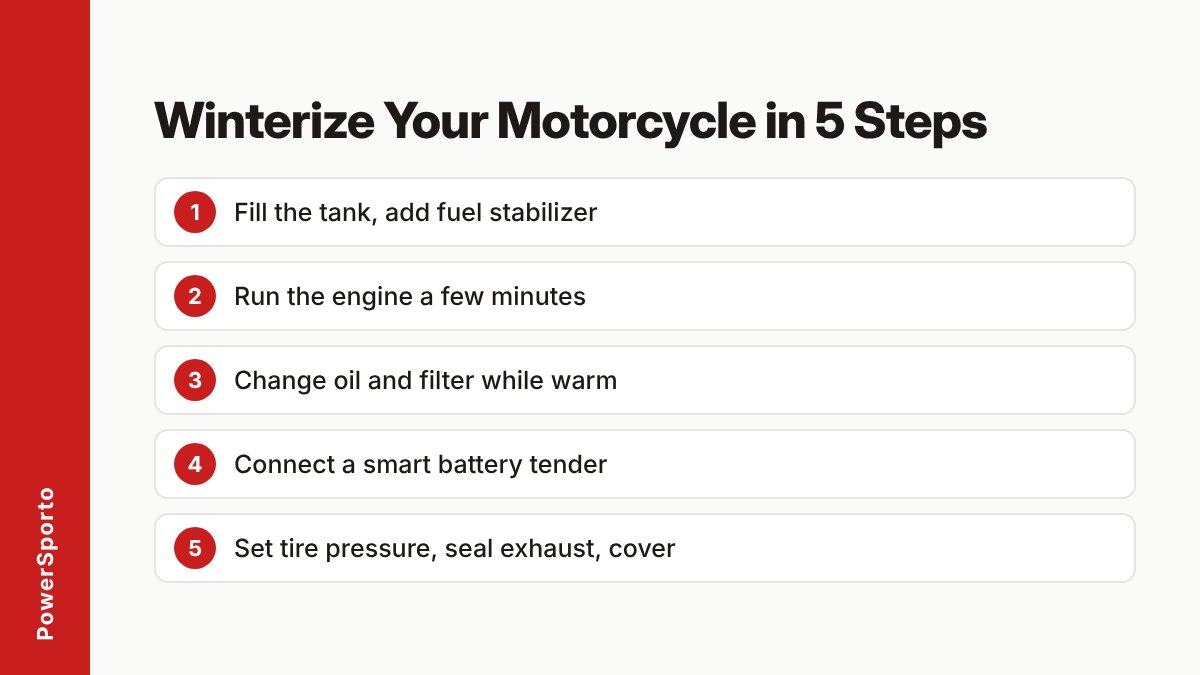
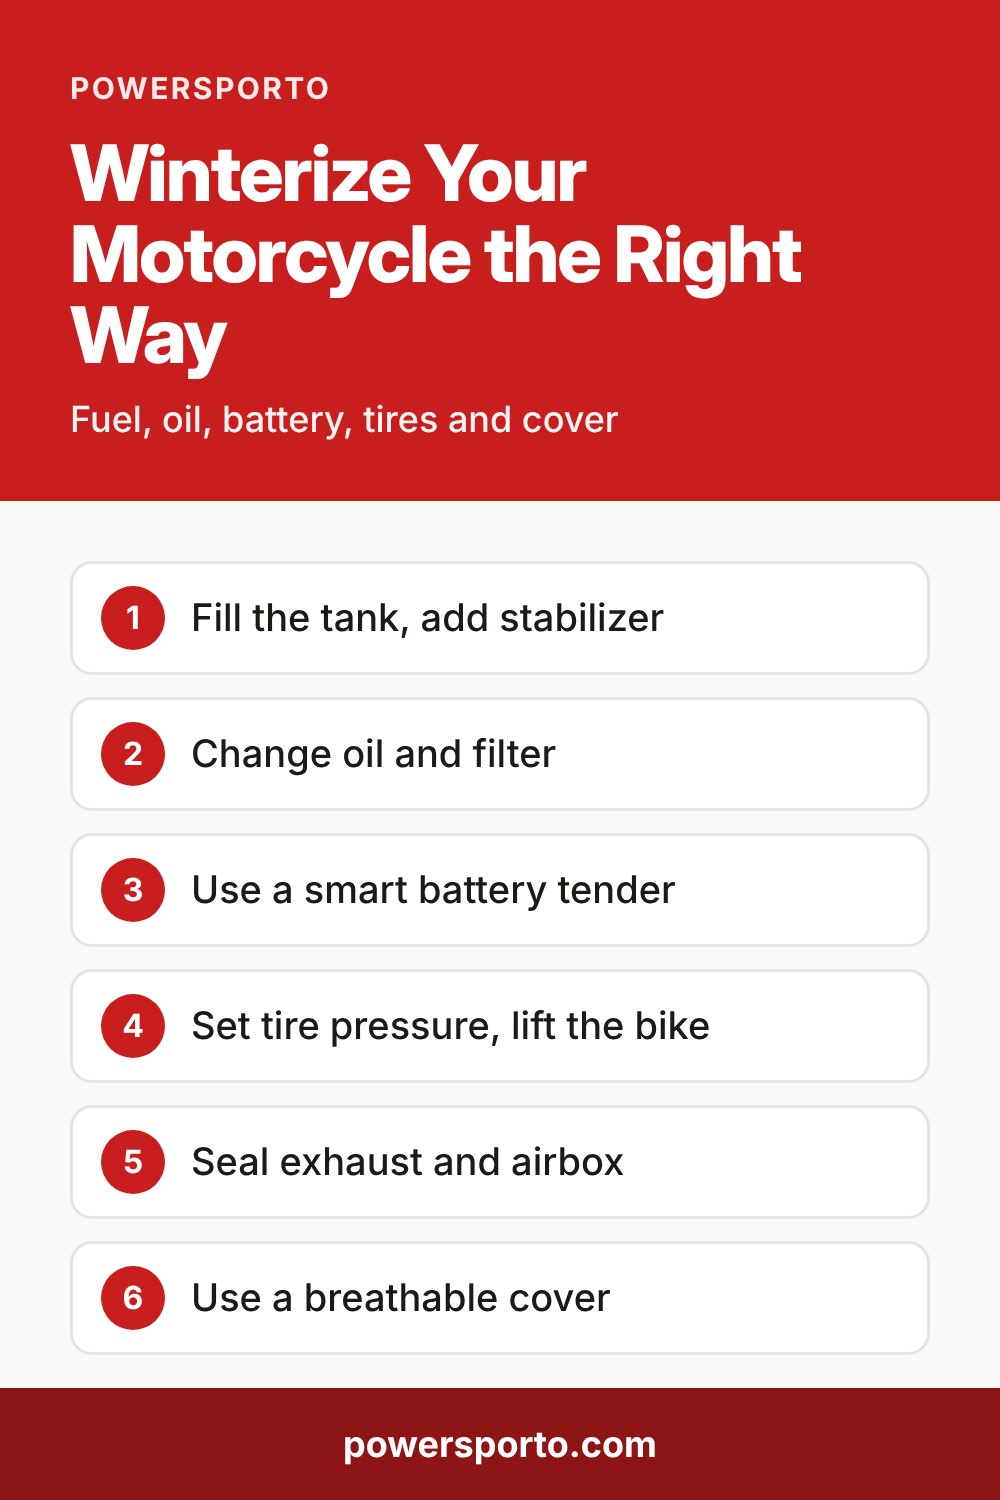
To winterize a motorcycle, fill the tank and add fuel stabilizer, change the oil, keep the battery on a smart charger, set the tire pressure and take weight off the tires, seal the exhaust and airbox, and cover the bike with a breathable cover in a dry spot. Done in a single afternoon, these steps protect the fuel system, engine, battery and tires from several months of sitting. This guide walks through each step in order.
Safety first: Gasoline is flammable, so work outdoors or in a well-ventilated space away from sparks, pilot lights and open flames. Let the engine and exhaust cool enough to touch before you handle them, wear gloves and eye protection, and read your owner’s manual before draining fluids or disconnecting the battery.
Quick answer
Use this table as a one-glance summary. The steps below explain the detail.
| Area | What to do | Why it matters |
|---|---|---|
| Fuel | Fill the tank, add stabilizer, run the engine a few minutes | Less room for moisture and rust; treated fuel reaches the whole system |
| Oil | Change oil and filter while the engine is warm | Used oil holds contaminants that can sit on engine parts all winter |
| Battery | Connect a smart tender (lead-acid) | Cold speeds discharge and a flat battery can be damaged |
| Tires | Set correct pressure, lift off the ground if you can | Prevents flat spots |
| Openings | Seal exhaust and airbox | Keeps out moisture and rodents |
| Cover and spot | Breathable cover, dry indoor space | Limits condensation, UV and theft |
What you need
You can do most of this with basic tools and a few supplies. Check your owner’s manual for the right oil grade, filter and coolant for your bike.
- Fuel stabilizer (an alcohol-free type if ethanol is a concern; follow the product label)
- Fresh oil and a new oil filter that match your manual
- A smart battery tender (maintainer) that charges as needed and shuts off
- A tire pressure gauge and a center stand, paddock stand or similar
- Chain cleaner and chain lube if your bike has a chain
- A breathable, waterproof motorcycle cover
- Heavy plastic, tape or zip ties to seal openings
- Clean rags, gloves and eye protection
Step-by-step: winterize your motorcycle
1. Wash and dry the bike
Clean off road grime, bug residue and salt, then dry the bike completely. Dirt left on paint, chrome and metal holds moisture against the surface for months. Once it is dry, wipe plastic and metal parts with a protectant suited to them, and keep the bike out of direct sunlight in storage because sun can fade paint and crack plastic.
2. Fill the tank and treat the fuel
Fill the tank to the level your manual recommends, then add fuel stabilizer as directed on the label. A full tank leaves less room for moisture and helps prevent rust. Rock the bike gently to mix the stabilizer, then run the engine until it reaches operating temperature, or at least for several minutes, so the treated fuel gets through the whole fuel system.
Why bother? Oklahoma State University Extension notes that even straight gasoline should not be stored more than about 60 days without stabilizer chemicals. It also advises an alcohol-free stabilizer if you suspect ethanol is causing problems, and checking the manufacturer’s guidance before using any additive. For storage beyond 60 days on small engines the extension suggests draining the fuel system; for a motorcycle, follow your owner’s manual and a treated, full tank unless the maker says otherwise.
3. Change the oil and filter
Change the oil and filter while the engine is still warm, because warm oil drains faster and more completely. If you are more than about halfway to your next scheduled oil change, do a full change before storage; if the oil is fresh, topping up may be enough. Use the grade your manual specifies.
For storage beyond a month, some maintenance guides also suggest removing the spark plugs and putting a small amount of clean engine oil into each cylinder to coat the cylinder walls. Check your manual first and turn the engine over by hand or with the starter only as the maker describes.
4. Check coolant and brake fluid
Brake and clutch (hydraulic) fluids absorb moisture over time. Bel-Ray’s storage guide recommends replacing them if they have not been changed in about 2 years or 11,000 miles (18,000 km). On liquid-cooled bikes it suggests a coolant change about every 2 years or 15,000 miles (24,000 km). Intervals differ by model, so your manual’s service schedule comes first. Make sure the coolant is rated for the freezing temperatures your area sees.
5. Clean and lube the chain
If your bike has a chain, clean it, let it dry, and apply chain lube. Leave it to stand for the time the product label gives (one maker lists about 15 minutes) so the lube can settle before you move on. A clean, lightly lubed chain resists rust over the winter.
6. Look after the battery
Cold weather speeds up battery discharge, and a battery can start losing charge within weeks. Pick the approach that fits your battery type:
- Lead-acid battery: Connect a smart tender that charges as needed and shuts off so the battery is not overcharged. If you do not use a tender, check and recharge the battery monthly.
- Lithium-ion battery: These hold charge for several months, and some guides say you can disconnect the negative terminal for the season. Confirm with your manual or the battery maker.
- Storing outdoors or in a very cold space: Remove the battery, charge it, and keep it indoors on a shelf or workbench instead of on bare concrete.
If you disconnect the cables, take off the negative cable first, and cover the terminal end with electrical tape so it cannot touch metal.
7. Set the tire pressure and take the weight off
Inflate the tires to the pressure listed in your manual or on the bike’s label before storage. Cold air lowers tire pressure, and underinflated tires are more likely to develop flat spots. Some storage guides suggest inflating to the tire’s maximum sidewall pressure for storage and then resetting it before you ride; if you do that, make sure you reset it.
The best protection is lifting the tires off the ground with a center stand or paddock stand. If you have no stand, move the bike a little every so often to change where the tires touch the floor. Keep tires out of direct sun and away from heat sources.
8. Seal the exhaust and airbox
Block the exhaust outlet and airbox opening with heavy plastic, tape or zip ties so moisture and small animals cannot get in. Rodent deterrents such as steel wool or mothballs are sometimes suggested; if you use them, leave a clear reminder (a bright tag on the handlebar works) so you remove everything in spring.
9. Choose the right storage spot and cover
Indoor storage is best. A garage that stays fairly stable in temperature is ideal, and an unheated garage is still better than outside as long as it is ventilated enough to limit condensation. Avoid spots next to windows with strong sun. Outdoor storage exposes the bike to moisture, freezing and UV.
Use a breathable, waterproof cover that is secured well. Synthetic covers are better than cotton, which can hold moisture. A heavy-duty waterproof cover suits outdoor storage, and a lock or alarm helps deter theft.
Common mistakes to avoid
| Mistake | What can happen | Better choice |
|---|---|---|
| Leaving a half-empty tank | More space for moisture and rust | Fill the tank and add stabilizer |
| Adding stabilizer but not running the engine | Untreated fuel stays in the carburetor or injectors | Run the engine for several minutes |
| Skipping the battery | Flat, possibly damaged battery by spring | Use a smart tender or remove and charge it |
| Using a plastic tarp directly on the bike | Trapped moisture and condensation | Use a breathable motorcycle cover |
| Forgetting to unseal the exhaust | Blocked exhaust or a stalled first start | Tag the handlebar as a reminder |
| Letting the bike sit on soft, flat tires | Flat spots, cracked sidewalls | Correct pressure and a stand when possible |
Spring-ready reminders
When riding season returns, remove the exhaust and airbox covers, reset tire pressure to the manual’s figure, check the brakes, chain and fluid levels, and reconnect or recharge the battery before you start the bike. Do a walk-around before the first ride.
When to call a professional
Take your motorcycle to a qualified technician if you are unsure about draining fluids, bleeding brakes, working on a fuel-injected system, handling a swollen or damaged battery, or fogging the cylinders. Some bikes have specific procedures or warranty requirements, and a shop can do the whole job in a short visit.
Sources
 Save
Frequently asked questions
Should I fill the gas tank before storing a motorcycle?
Yes. A full tank leaves less room for moist air, which helps limit rust inside the tank. Add fuel stabilizer, then run the engine for a few minutes so treated fuel reaches the whole fuel system.
Do I need a battery tender for winter storage?
For a lead-acid battery, a smart tender that charges as needed and then shuts off is the usual choice. Without one, check and recharge the battery about once a month. Lithium batteries hold their charge longer, so check your manual for what the maker advises.
Should I start my motorcycle every few weeks during winter?
Short idling sessions rarely bring the engine fully up to temperature and can leave moisture behind. A properly prepared bike on a tender can usually sit for months, so follow the steps in this guide instead of occasional start-ups.
Can I store a motorcycle in an unheated garage?
Yes, an unheated garage is better than storing outdoors. Keep it ventilated to limit condensation, use a breathable cover, and keep the battery charged and away from freezing temperatures.